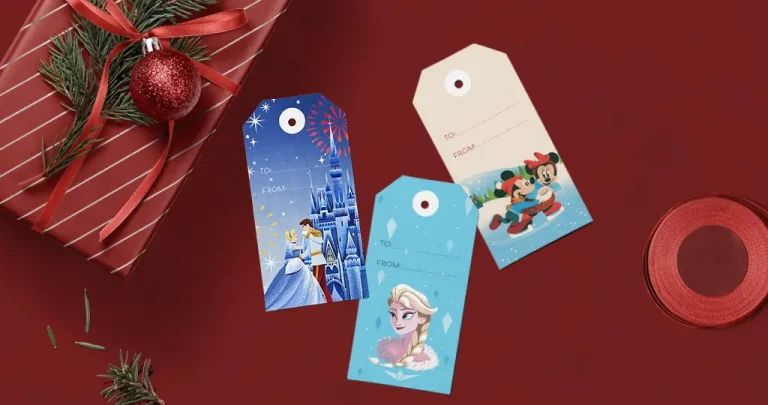
It’s the most wonderful time of the year at the Most Magical Place on Earth! Magic Kingdom® Park is once again hosting Mickey’s Very Merry Christmas Party, and there’s something for the whole family. Whether you’re a tree-decorating dynamo, a Christmas cookie champion or the type who breaks out your carol playlist the second Halloween is over, the party has an activity or experience that’s perfect for you, and we’ll share them all in this article. And don’t forget, when you jingle all the way to Walt Disney World® Resort with your Disney® Visa® Credit Card, you can save 10% on select purchases at select locations when you do your holiday shopping at the parks.12
Overview of Mickey’s Very Merry Christmas Party
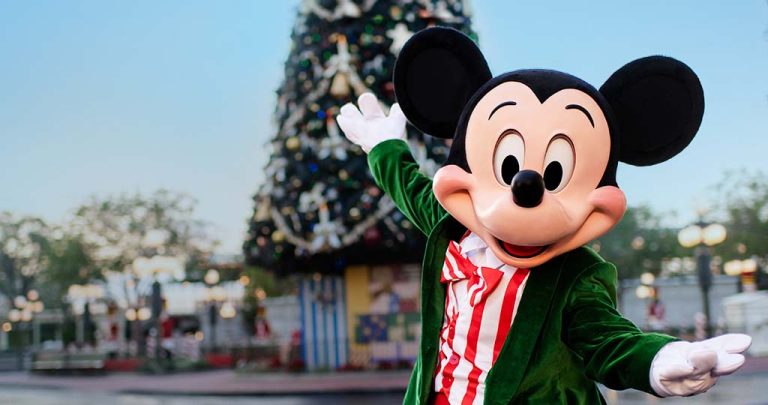
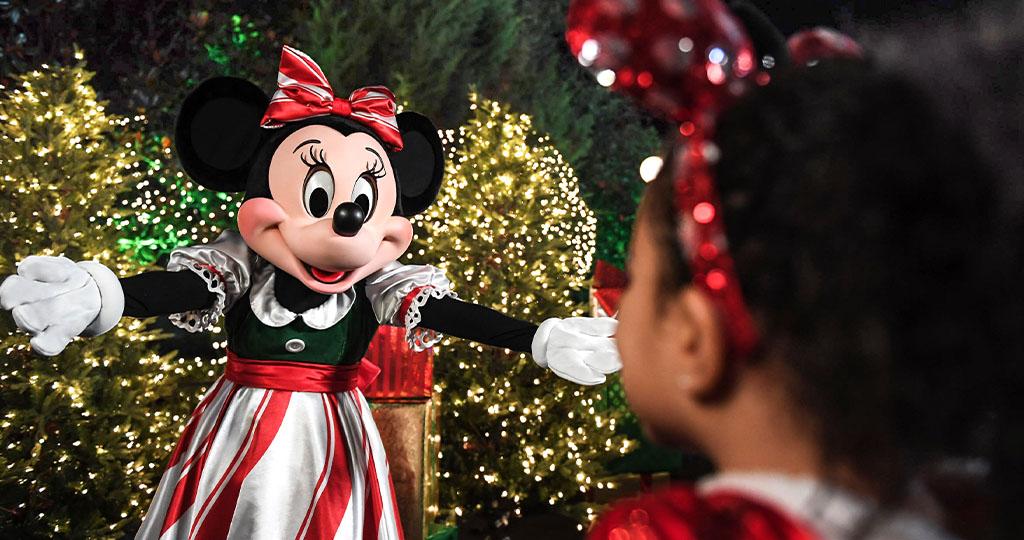
Magic Kingdom® Park will host Mickey’s Very Merry Christmas Party from 7:00 p.m. to midnight on select dates between November 8 and December 20, 2024. You’ll need a ticket for the event, and Cardmembers can redeem Disney Rewards Dollars toward their purchase.3 Party Guests can expect highlights like Minnie’s Wonderful Christmastime Fireworks Show and Mickey’s Once Upon a Christmastime Parade, plus plenty of other seasonal performances. You’ll be able to bust a move at holiday dance parties, meet Characters dressed up in special outfits and experience favorite attractions with a holiday twist! And, of course, there will be plenty of seasonal snacks to munch on and special merchandise that will make the perfect stocking stuffers for friends or family members.
If you leave cookies out for Santa: Indulge in seasonal sweets
If you’re the sort that bakes fresh cookies to leave out for Santa, you’ll definitely want to indulge in the party’s seasonal sweets. Magic Kingdom® Park restaurants and snack stalls will have tempting treats, and complimentary cookies and hot cocoa will also be available at designated locations around the park. Perfect for warming your hands and your heart on chilly evenings.

If your favorite playlist is holiday music: Visit Disney Junior Jingle Jam with the Family
For some people, holiday music is a fun seasonal switch from their normal playlists. For others, it’s the soundtrack to their lives and just as good in July as it is in December. If that sounds like you, don’t miss out on the holiday dance party at Club Tinsel, where you can sing along to some favorite classics. Meanwhile, kids will have a jolly good time at the Disney Junior Jingle Jam, where they can hit the dance floor with Fancy Nancy, Doc McStuffins and other Disney Junior Characters.
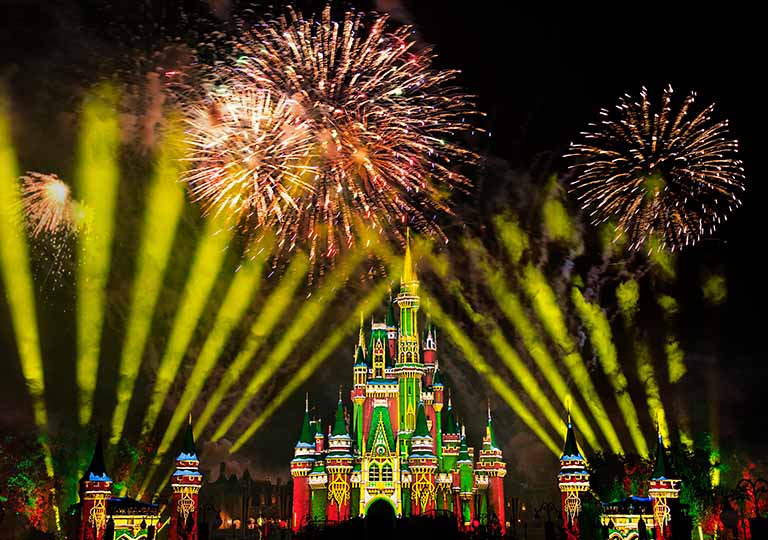
If you go all out with holiday lights: View Minnie’s Wonderful Christmastime Fireworks Show
Lights on the tree, lights above the fireplace, lights on the front door, lights all along the roof, light-up snowmen and reindeer in the front yard… Sound like your house? If so, you won’t want to miss Minnie’s Wonderful Christmastime Fireworks Show. Holiday carols will set a cheerful mood as fireworks light up the sky and Cinderella Castle is bathed in festive colors and designs. And make your fireworks viewing experience extra sweet when you book a Dessert Party at Tomorrowland Terrace or Plaza Garden.
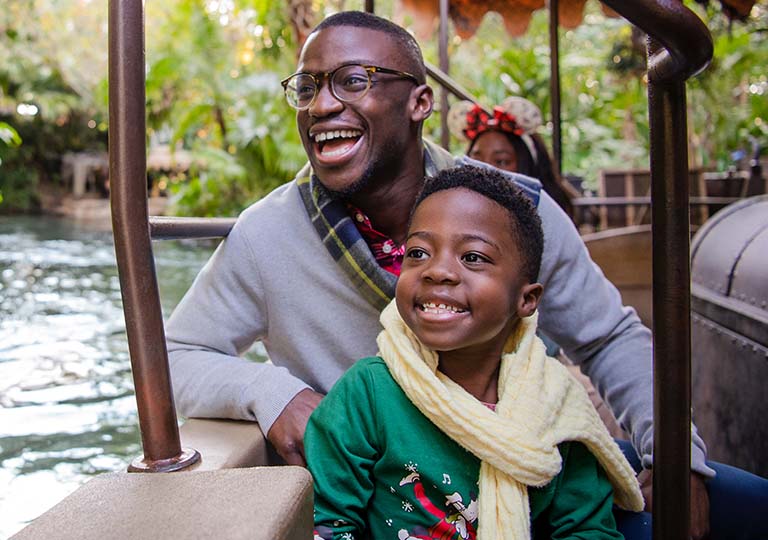
If you redecorate every room: Check out attraction overlays
Why just decorate the tree when you can give your entire home a yuletide transformation? If you hang holly everywhere or turn your living room into a replica of Santa’s workshop, you won’t want to miss the holiday makeovers at two of the park’s classic attractions. Space Mountain will have lively tunes accompanying your festive journey through the galaxy, and holiday humor will abound when Jungle Cruise becomes Jingle Cruise. If you need to fuel up before or after climbing aboard, grab something to eat at Jungle Navigation Co. Ltd. Skipper Canteen, where you can save 10% on most meals, most days with the Disney Visa Card.15
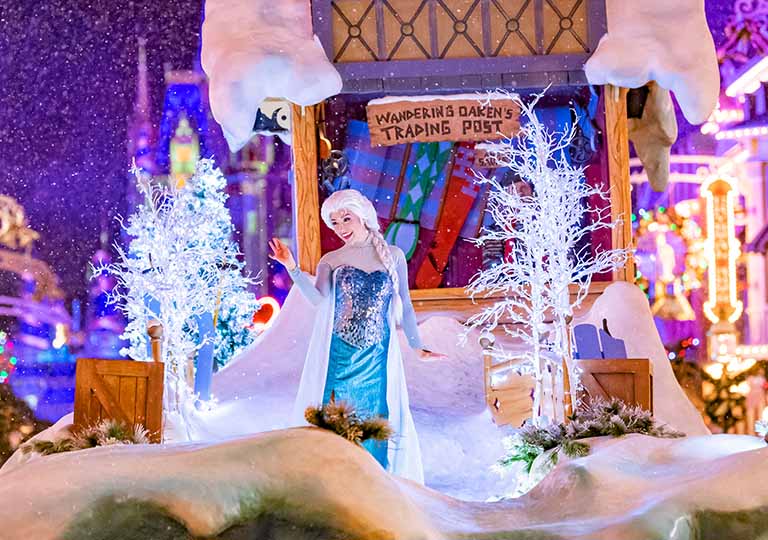
If you dream of building snowmen: See stunning “snowfall”
If you fantasize about snow days and building snowmen, you might wonder how you can experience that enchantment in sunny Florida, where it doesn’t snow. Or does it? After all, this isn’t called the Most Magical Place on Earth for nothing! At this celebration, you’ll discover a winter wonderland, where “snow” falls on Main Street, U.S.A.®, and wreaths, holly and other decorations create a spectacle perfectly suited to the season.
If you get dressed up for holiday parties: Watch Mickey’s Once Upon a Christmastime Parade
The holiday season brings holiday parties, and that means—yay!—you can finally put on your most festive outfits! Whether the occasion calls for a classic red and green look, your coziest sweater or a Santa hat and mittens, your closet is prepared. Lucky for you, Mickey’s Once Upon a Christmastime Parade is the perfect opportunity to get dressed up and wave to Mickey Mouse, Minnie Mouse, Santa and gingerbread men as they make their way through Frontierland, Liberty Square and Main Street, U.S.A.® And if you want to add to your wardrobe, remember that you can take advantage of your Disney Visa Card’s shopping perk to get 10% off purchases of seasonal ears, Spirit Jerseys and other select merchandise at select locations in the park.12
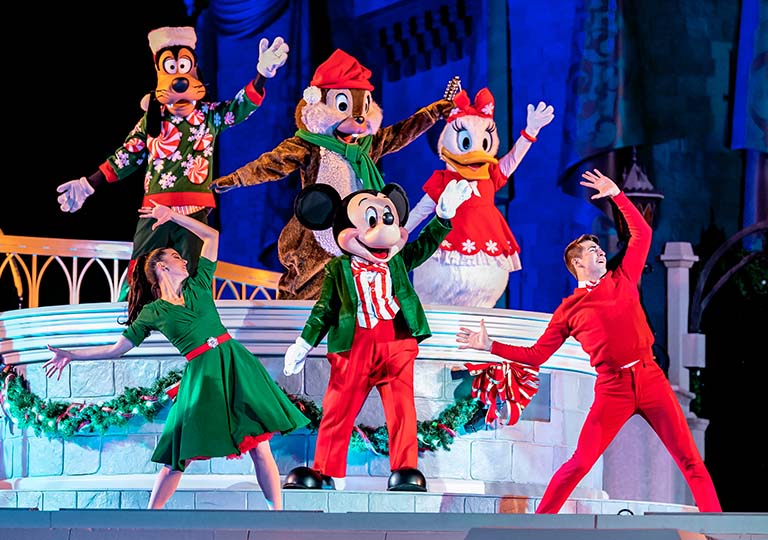
If you watch holiday movies on repeat: Head to Mickey’s Most Merriest Celebration
If you have enough holiday movies in your Disney+ watchlist to keep you busy until next year, you’ll definitely want to catch Mickey’s Most Merriest Celebration. Staged in front of Cinderella Castle, this live performance is an extravaganza of holiday singing and dancing featuring Mickey Mouse and friends. Soak up the holiday magic as music, laughter and snowflakes fill the air and delight in this entertaining yuletide bash!
Mickey’s Very Merry Christmas Party promises to be the celebration of the year, and we hope you’ll join for the festivities! No matter what you like best about the holiday season, you’ll be sure to find something that fills you with holiday cheer. And whether you’re planning a visit to Walt Disney World® Resort for the party or for another time of year, you’ll be able to take advantage of special vacation financing on select Disney vacation packages when you use your Disney Visa Card to book through the Walt Disney Travel Company, online at Disney sites or through other eligible travel agents or sites.8