Disney DIY: Make your own adorable Mickey Mouse and Frozen Easter baskets!
Updated February 23, 2022
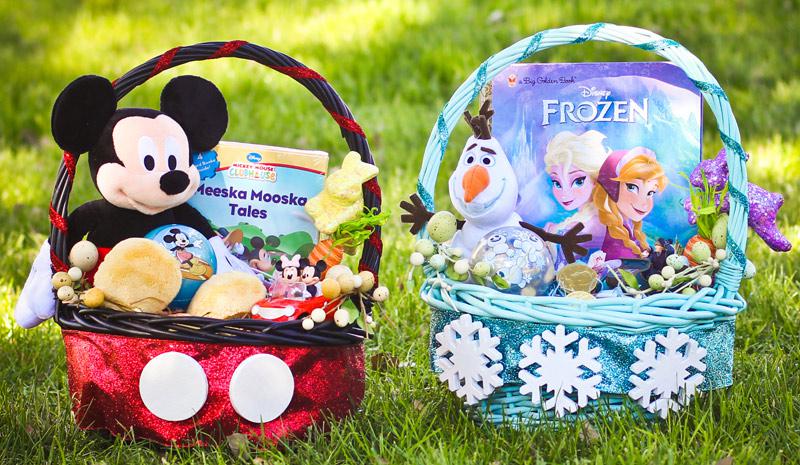
Hatch some special fun for your Easter egg hunt this year with a quick Easter basket DIY that’s sure to delight every little Disney-lover. Get your scissors and glue gun and get hopping!
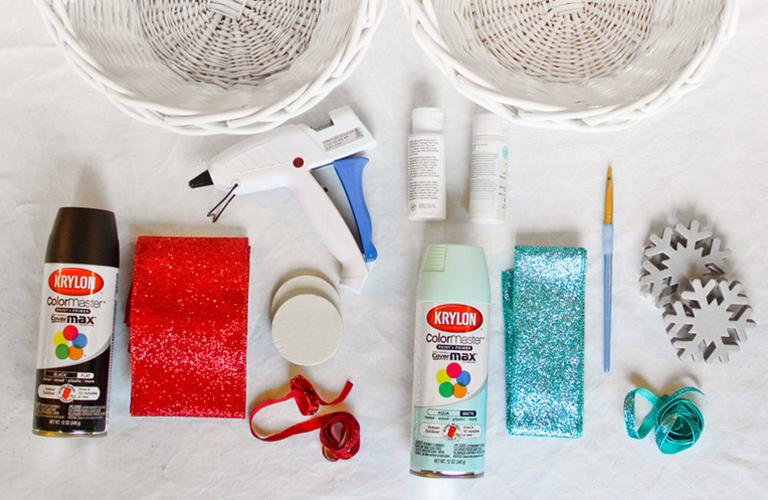
What You’ll Need
- 2 wicker Easter baskets
- Black and aqua spray paint
- White and pearl acrylic paint
- Wide red and aqua glitter ribbon
- Skinny red and aqua glitter ribbon
- 3 chipboard snowflakes
- 2 chipboard circles for buttons
- Paint brush
- Glue gun
- Easter grass
- Small Disney toys and all the best Easter basket sweets (eggs, bunnies, candy, etc.)
![]()
Step 1
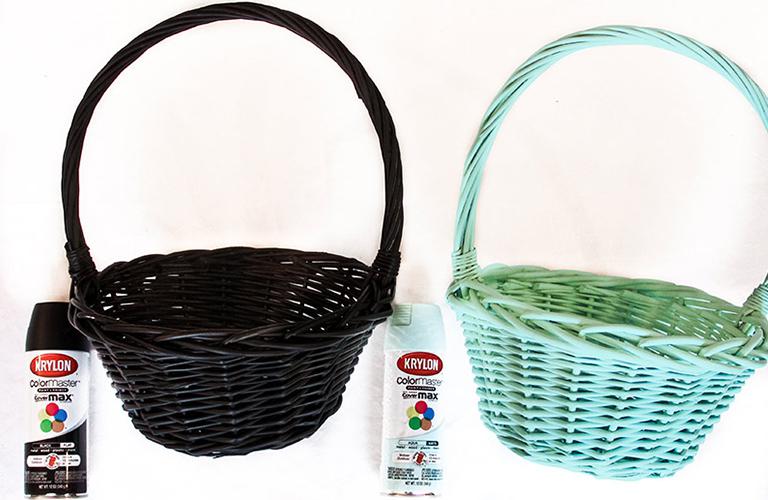
Spray paint one Easter basket black for Mickey Mouse and the other aqua for Frozen and let them dry.
![]()
Step 2
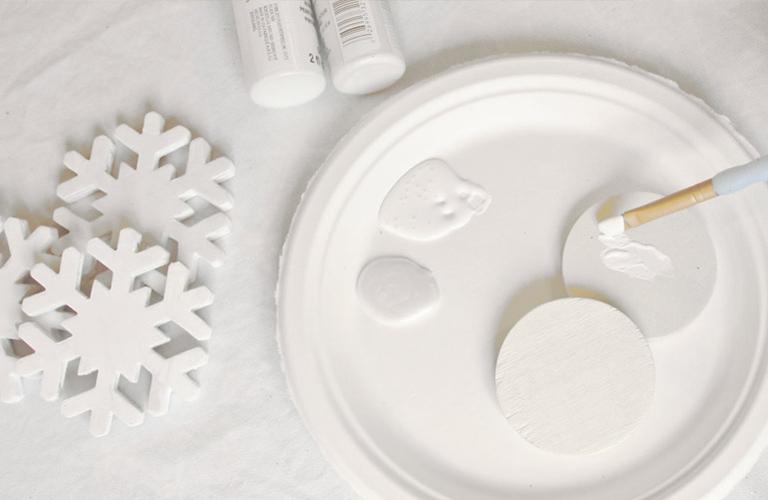
Paint the snowflakes for the Frozen Easter basket with white acrylic paint and the buttons for the Mickey Mouse Easter basket with pearl acrylic paint and let them dry.
![]()
Step 3
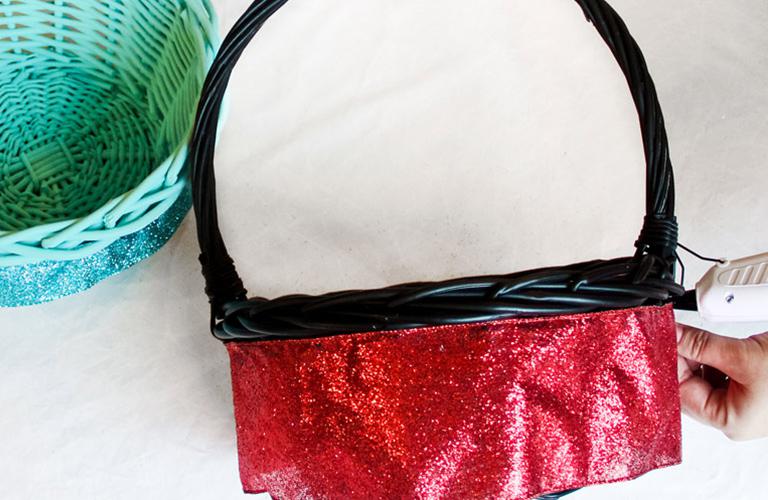
Once the baskets are dry, wrap the wide ribbon around each basket (red for Mickey Mouse, aqua for Frozen) and secure with hot glue.
![]()
Step 4
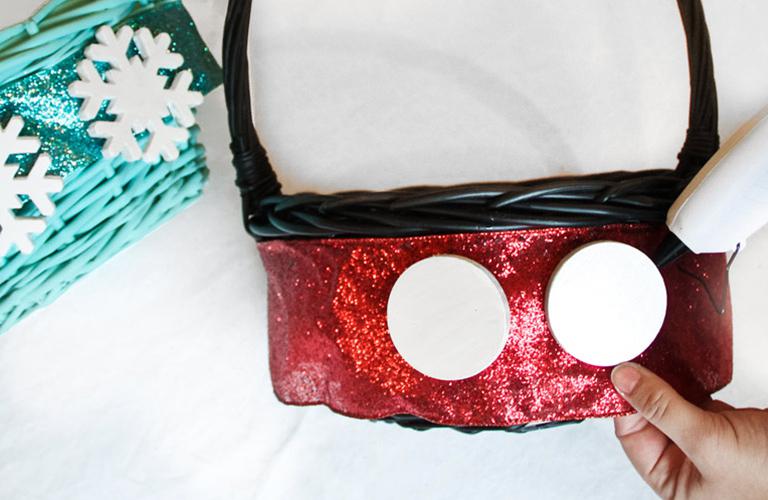
Once the snowflakes and buttons are dry, glue them to the front of the baskets.
![]()
Step 5
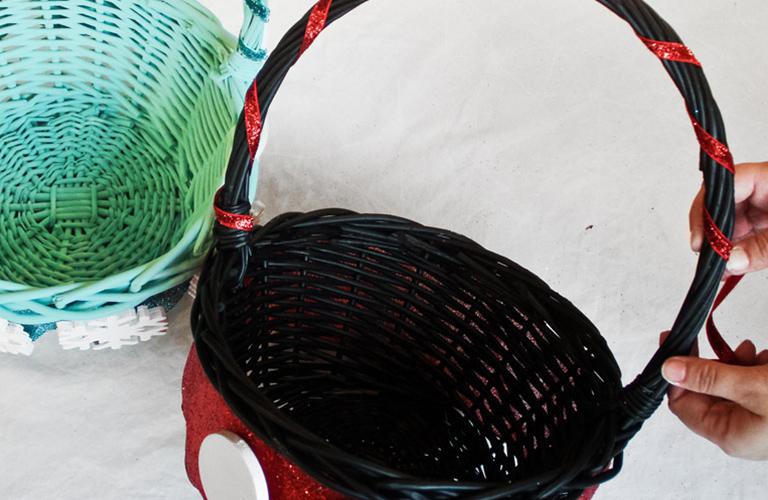
Wrap the matching skinny ribbon around each basket handle and glue them in place.
![]()
Step 6
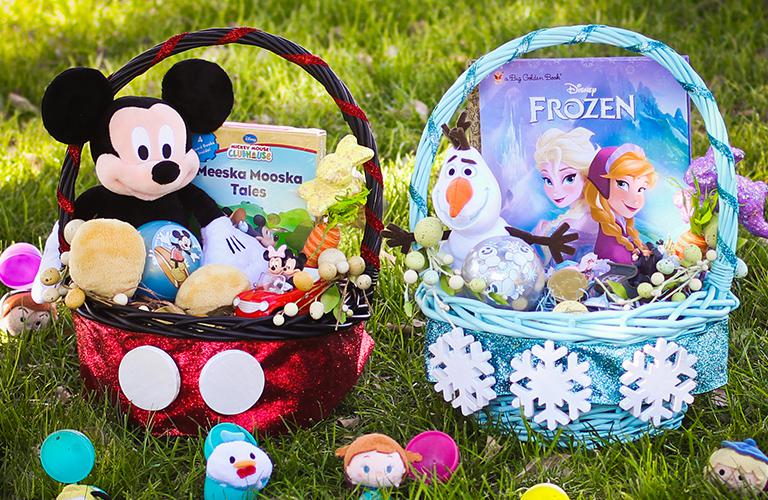
Now that your baskets are sitting pretty, there’s one thing left to do: fill them! You can find plenty of goodies to complete your baskets at shopDisney.com, and Disney® Visa® Cardmembers can save 10% on select purchases when using their Disney Visa Card!0 Happy Easter and we “hop” your bunnies enjoy their baskets!
Note: Due to popularity, some items might become unavailable.

