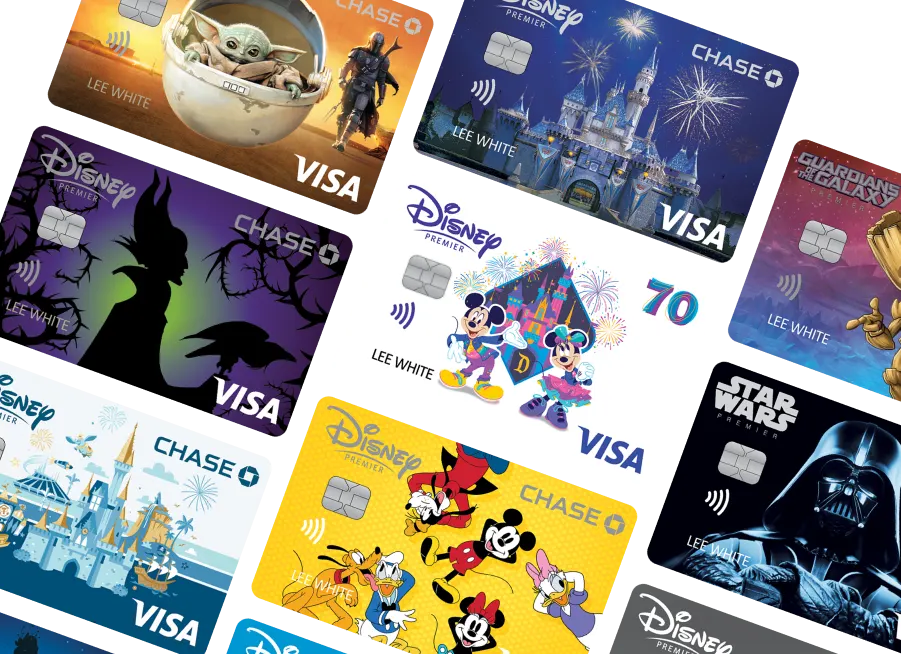
Disney is celebrating so many milestones this year. Not only does The Walt Disney Company have its 100th anniversary, but Mickey Mouse and Minnie Mouse also have a celebration. It’s their 95th anniversary! That makes it the perfect reason to throw your own birthday party inspired by these iconic Characters. Learn how to create some fun DIY crafts that will make any birthday party extra special. And if you want to take it a step further by shopping for matching gifts at shopDisney.com, remember you can save 10% on select purchases with your Disney® Visa® Credit Card.0
Mickey Mouse Tablescape
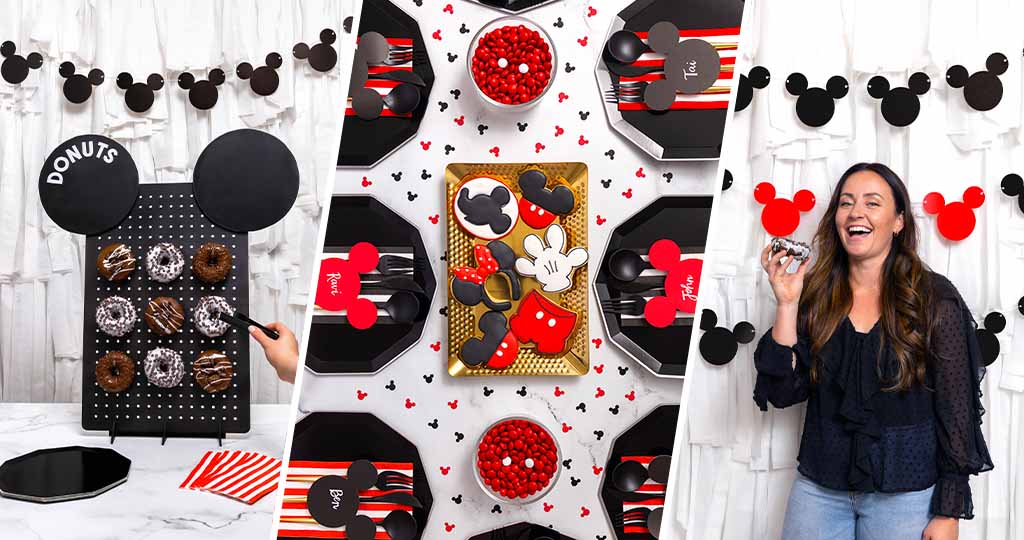
Your guests can gather around Mickey Mouse and Minnie Mouse-themed decor with a chic, playful table setting everyone will love. Plus, you’ll get to say you made it yourself! We’ll make it easy for you with these step-by-step instructions.
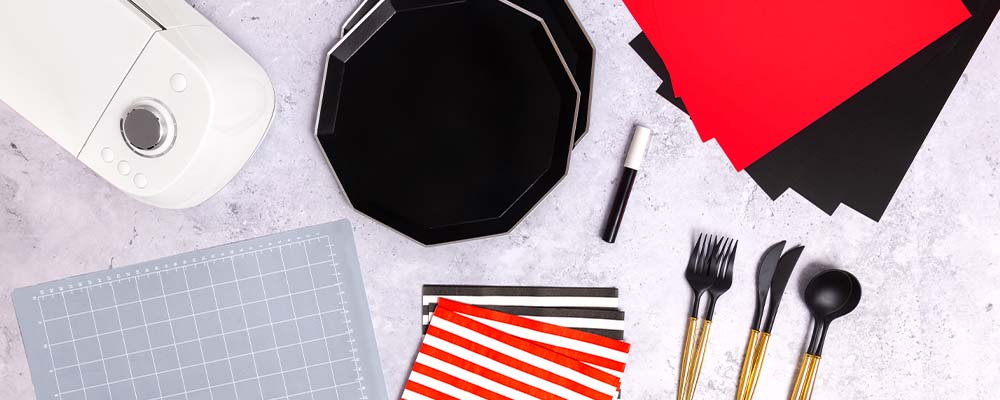
Materials
- 10″ black hexagon paper plates
- Red and white striped paper napkins
- Black and white striped paper napkins
- Plastic flatware
- Red cardstock
- Black cardstock
- Printer or electronic cutting machine
- White paint marker
Instructions
1. Download our template to print and cut out the Mickey Mouse silhouette shapes. (Ensure there is adult supervision for using scissors and sharp objects.) Alternatively, set up your electronic cutting machine and open the design software on your computer. Create a new document and upload a PNG file of Mickey Mouse’s silhouette.
2. Create and cut 4″ x 4″ Mickey Mouse silhouettes to create name place cards and use a white paint marker to write each guest’s name.
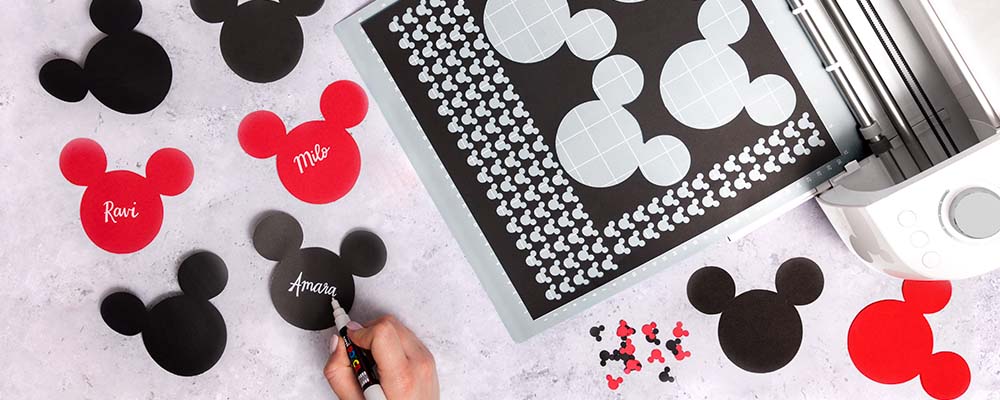
3. Next, create and cut smaller 1/2 ” x 1/2″ Mickey Mouse silhouettes to use as table confetti.
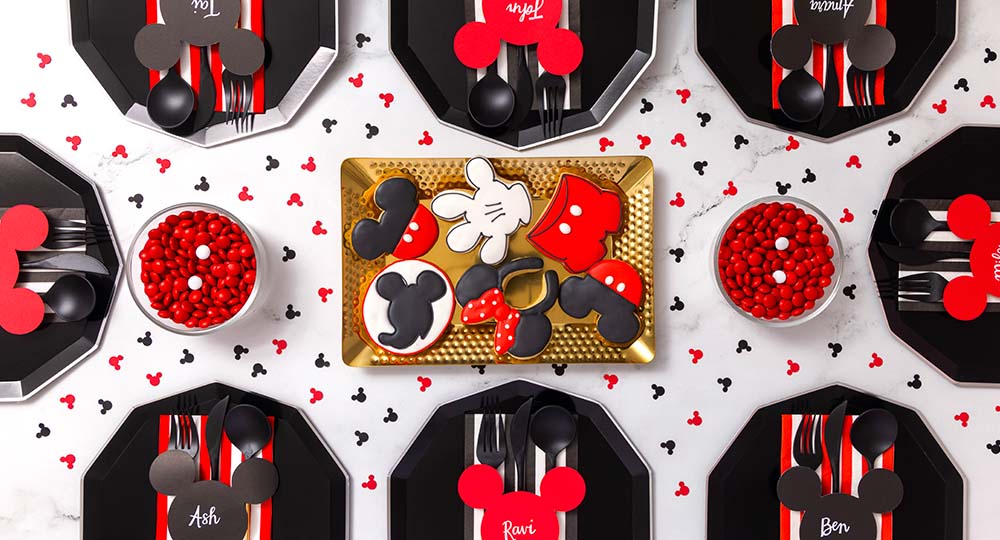
4. Now it’s time to set the table! Lay out the plates first and add a napkin and a set of flatware on top of each. Try alternating the napkin colors for more variety.
5. Add your preferred party treats and sprinkle on the Mickey Mouse table confetti to finish off your table!
Fun Facts About Mickey Mouse and Minnie Mouse
- He’s always been a star—but did you know Mickey Mouse has a star on the Hollywood Walk of Fame? He was the first animated character to be given the honor, on November 18, 1978.
- Mickey Mouse and Minnie Mouse were first drawn with their iconic white gloves in 1929, starting a fashion trend for a number of popular animated characters.
- Mickey Mouse inspired another trend when he lovingly tipped his ears like a hat to Minnie Mouse in The Karnival Kid in 1929—foreshadowing the famous mouse ear hats worn by Mouseketeers on television and later by Disney theme park Guests worldwide.
Mickey Mouse Photo Backdrop
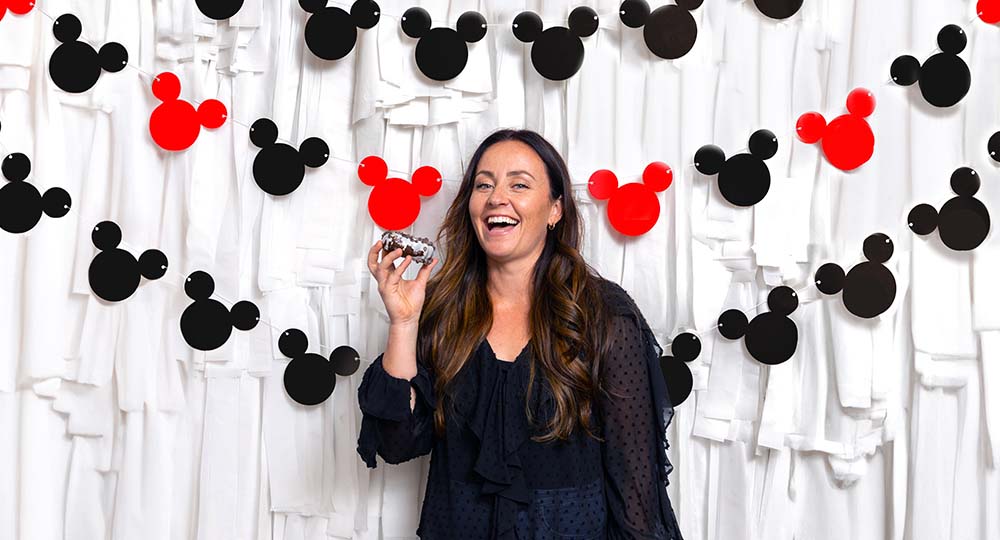
A party inspired by Mickey Mouse and Minnie Mouse is sure to bring out everyone’s cameras. Create a truly memorable setting with a photo backdrop where your party guests can strike poses. Bonus points if they use enchanting props like Mickey Mouse ears or Mickey Mouse silhouette confetti!
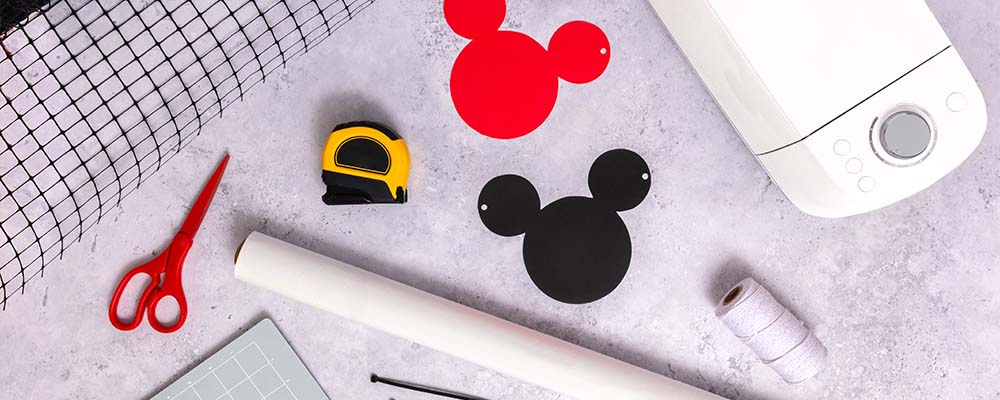
Materials
- White textured background
- Scissors
- Printer or electronic cutting machine
- Red cardstock
- Black cardstock
- String
- Tape measure
- Zip ties
- Background stand
Instructions
For the white backdrop, you can find and purchase the fringe of your choice, or you can create your own. Follow steps 1-5 below for the homemade version or skip to step 6 if you buy your fringe.
1. Start with white plastic tablecloths, as many as you need to cover the area of your backdrop. Cut the tablecloths into thin strips, approximately 2″ wide. You can mix up the lengths to be anywhere between 3-5’ long.
2. Next, unroll the fencing and cut it to your desired background size. You may need to connect multiple sections of fencing to reach the desired size. In this example, two sections measuring 3′ wide and 6′ long were connected to create a 6′ by 6′ backdrop.
3. Use zip ties to connect each section of fencing and attach the fencing to the top of the background stand.
4. Begin tying the cut strips of tablecloth to the fencing. Vary the lengths for a more textured look.
5. Use zip ties to attach the white background to the top of the background stand.
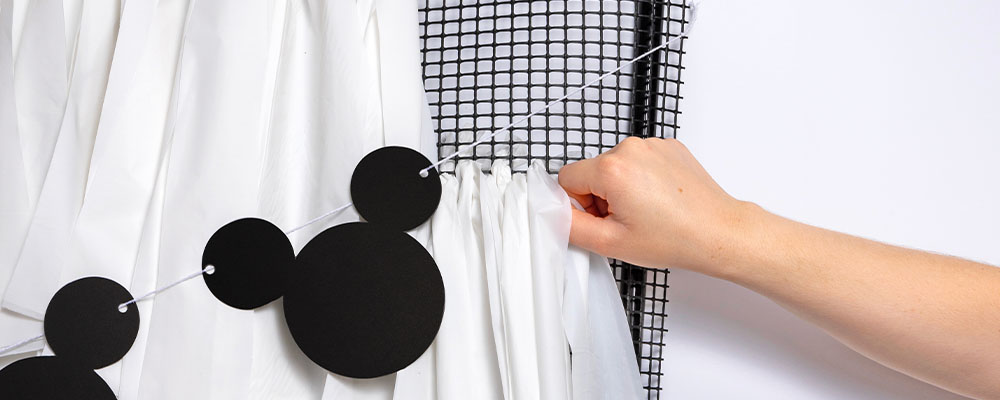
6. To start the Mickey Mouse garland, download our template to print and cut out the shapes on cardstock. (Ensure there is adult supervision for using scissors and sharp objects.) Alternatively, set up your electronic cutting machine and open the design software on your computer. Create a new document and upload a PNG file of Mickey Mouse. The Mickey Mouse silhouettes should be at least 6” in height and include two holes so that they can be attached to a piece of string.
7. After threading each cutout to the string, tie the garlands to the fencing so that they lay on top of the fringe background and get ready to strike a pose! Make it even more exciting by redeeming Disney Rewards Dollars toward props from shopDisney.com, such as a fun pair of Mickey Mouse ears.0
Mickey Mouse and Minnie Mouse’s First Film Appearances
It’s hard to imagine a world without Mickey Mouse and Minnie Mouse! These two have been on screens since their 1928 debut in Steamboat Willie, the first of 121 theatrically-released Mickey Mouse cartoons, 74 of which featured Minnie Mouse. While Steamboat Willie was the first time Mickey Mouse appeared on the big screen for the public, he was first brought to life in the 1928 cartoon, Plane Crazy, the first Mickey short to have been produced. Audiences first heard his squeaky, cheery voice in 1929’s The Karnival Kid. His first words? “Hot dogs!”
Mickey Mouse Donut Stand
When partygoers aren’t gathered around the table or snapping photos of your adorable event, they’ll need some sweet treats! This DIY donut board puts the goodies on display with a dazzling touch of Mickey Mouse and Minnie Mouse.
Materials
- Pegboard with stand
- Black foam board
- Razor blade cutting knife
- Hot glue
- Black spray paint
- Pegboard hooks
- White letter stickers or electronic cutting machine (with white adhesive vinyl)
Instructions
1. Start by cutting two 10” circles from black foam board, tracing a bowl, plate or another round object and using a razor blade cutting knife. (Ensure there is adult supervision for using sharp objects.)
2. Next, spray paint the pegboard and the pegboard stand base black.
3. While the paint is drying, use white letter stickers to spell “donuts” on one of the round foam board pieces. Alternatively, use an electronic cutting machine to create and cut a “donuts” decal on white vinyl and apply the decal to one of the round foam board pieces.
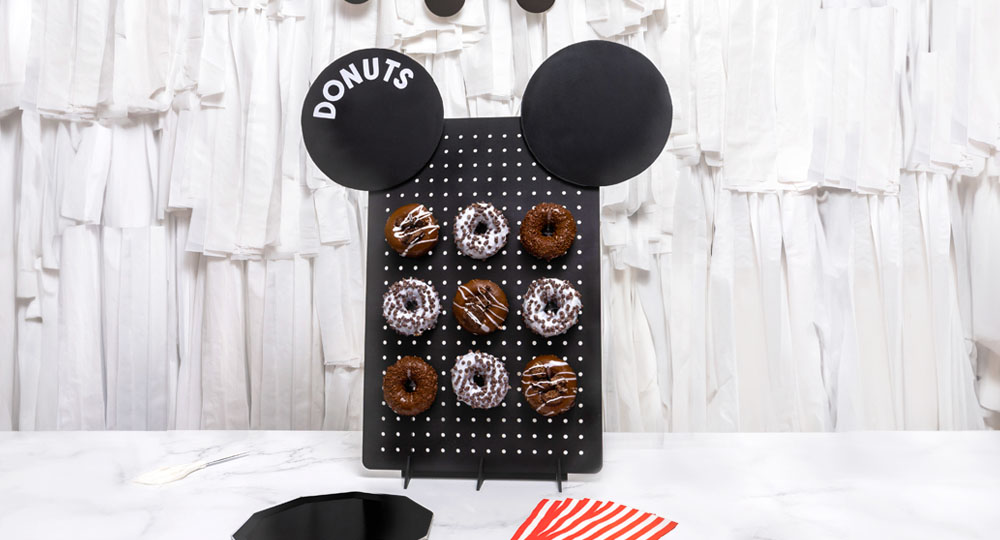
4. Once the pegboard is dry, place the two foam board circles at the top of your pegboard so that they look like Mickey Mouse ears and secure them using hot glue. (Ensure there is adult supervision for using hot glue.)
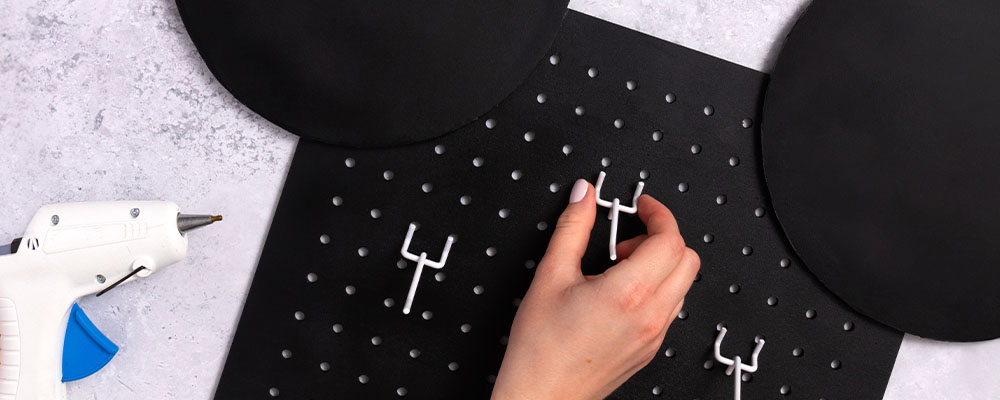
5. Assemble the pegboard stand and add evenly spaced pegboard hooks.
6. To finish it off, place a donut on each hook for guests to enjoy.
Mickey Mouse and Minnie Mouse Milestones
- 1928: Mickey Mouse and Minnie Mouse debut in Steamboat Willie at the Colony Theatre in New York.
- 2023: The celebration of Mickey Mouse and Minnie Mouse’s 95th anniversary.
- 2028: We’ll celebrate Mickey Mouse and Minnie Mouse’s 100th anniversary!
We hope these DIY Mickey Mouse and Minnie Mouse crafts help you throw an incredible party. And remember, you can redeem Disney Rewards Dollars toward themed gifts, clothing, home décor and more at shopDisney.com.0

