With hauntingly delightful décor, special events and plenty of tasty sweets, there’s no better place to stir up the Halloween spirit than the Disneyland® Resort and Walt Disney World® Resort. You can make your getaway even more bewitching with your Disney Visa Card. Keep reading—if you dare—and we’ll share tricks and tips for taking advantage of perks and rewards during this ghoulish season.
Book your getaway with Disney special vacation financing
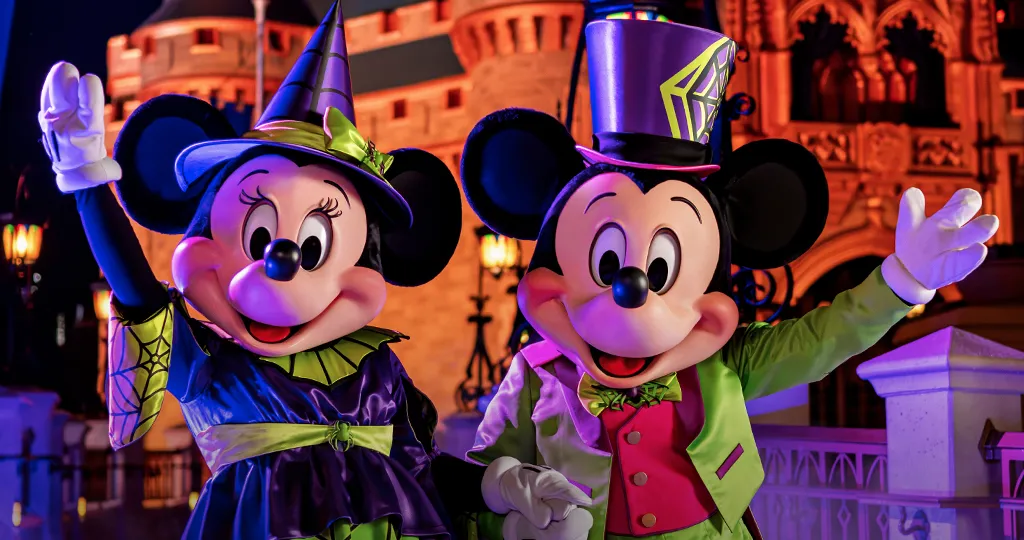
As Halloween lurks around the corner, a Disney getaway is the perfect way to celebrate. Enjoy trick or treating, costume parties and fright-filled twists on favorite attractions—like Space Mountain at Magic Kingdom® Park for Mickey’s Not-So-Scary Halloween Party and Guardians of the Galaxy – Monsters After Dark® at Disney California Adventure® Park. And, of course, be immersed in amazing themed decorations, such as the carved pumpkins glowing along Main Street, U.S.A. in Disneyland® Park. Take advantage of special vacation financing to make the ghoulish good times possible when you use your Disney Visa Card to book select Disney vacation packages.1
Save on Disney Halloween souvenirs
Keep up the magic and mischief as you shop for Halloween-themed goods. Look out for limited-time keepsakes around the parks, like at the Emporium in Magic Kingdom® Park and World of Disney in Downtown Disney® District, where you’ll find bootiful must-haves for yourself, friends and family. Get eerie-sistible savings on your souvenirs when you use the Disney Visa Card to receive 10% off select merchandise purchases.23
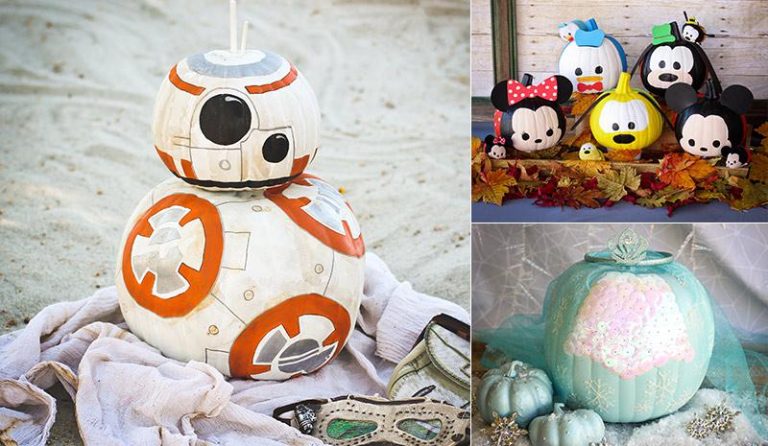
Get into the spirit with playful Halloween merchandise that’s all tricks, treats and Disney magic! Be sure to check out the Mickey Mouse Family Halloween Collection for some spooky-cute style, home décor, toys and more. And don’t miss all the Halloween Time goodies available for a limited time at the Disneyland® Resort.
Redeem toward scary delicious Halloween treats
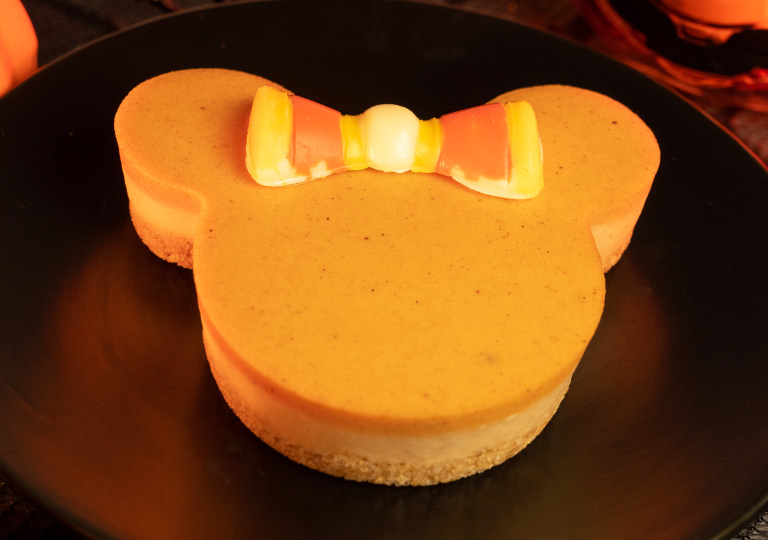
Fuel up with bubbling brews, pumpkin spice sweets and candy apples (just not from the Evil Queen)! Don’t miss the Minnie Mouse-shaped Pumpkin Cheesecake from Main Street Bakery and Casey’s Corner at Walt Disney World® Resort (pictured below). Or stop by some favorite spots at the Disneyland® Resort, like the Jolly Holiday Bakery Cafe to try the Caramel Apple Cheesecake. Other seasonal must-try treats include the Haunted Heatwave Pizza at Alien Pizza Planet and the Pumpkin Pie Churro at Cozy Cone Motel. And as you sample all the scrumptiousness the parks have to offer, remember you can redeem your Disney Rewards Dollars toward these goodies.4
Use Disney Rewards Dollars for Disney special event tickets
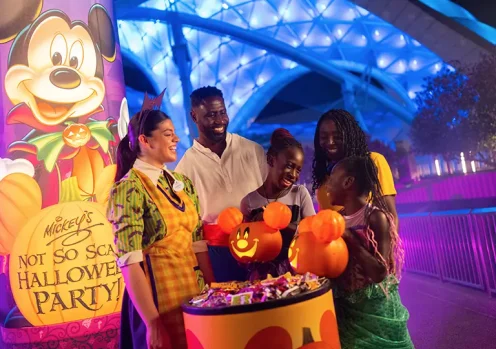
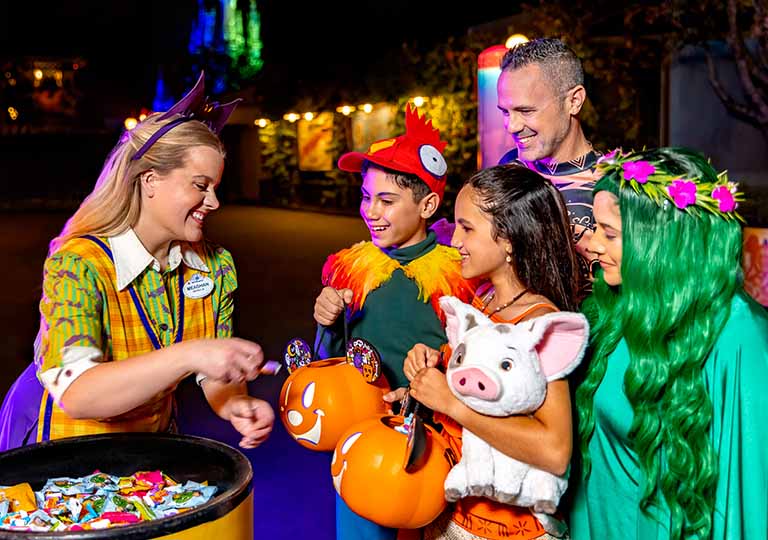
You can also redeem Disney Rewards Dollars toward separately-ticketed events for more eerie entertainment!4 Don your best costume for Mickey’s Not-So-Scary Halloween Party at Walt Disney World® Resort. Watch some favorite Characters march in Mickey’s Boo-To-You Halloween Parade and join the Sanderson Sisters for toil and trouble at the Hocus Pocus Villain Spelltacular stageshow.
Use the shopping perk to dress up
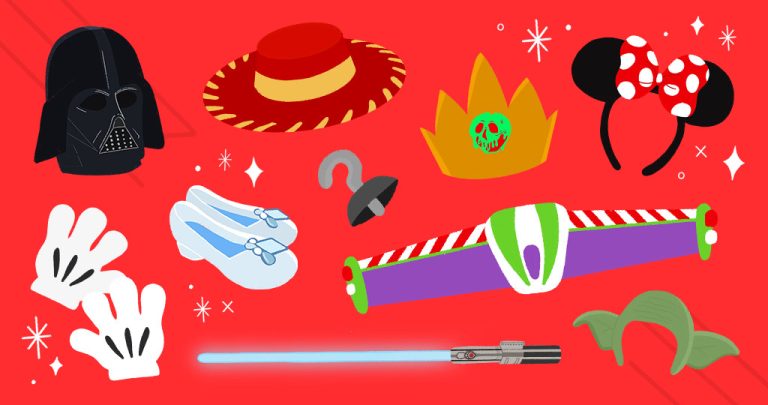
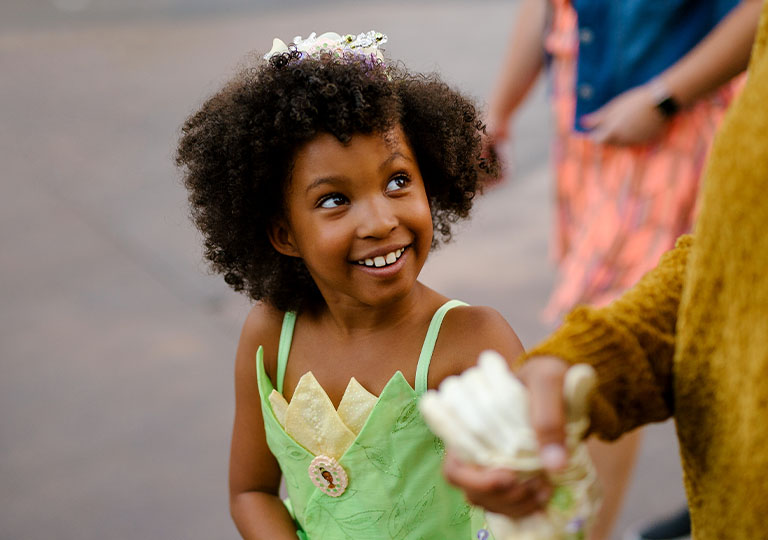
One of the best parts about celebrating Halloween at the parks is that kids can dress up like their favorite Disney Characters! Pack a costume for your little one from DisneyStore.com, where you can save 10% on select purchases with your Disney Visa Card.6 You’ll find ears, hats, wands, tiaras, lightsabers and more—everything you need to create a look for your child. Need some help deciding on the best costume? Take our personality quiz to find some ideas.
Redeem toward special Halloween photos
Let Disney PhotoPass photographers capture your grim grinning faces with professional pictures throughout the parks. Redeem Disney Rewards Dollars toward Memory Maker at Walt Disney World® Resort or Disney PhotoPass+ at the Disneyland® Resort.4 Discover fun Magic Shot opportunities and watch as supernatural surprises like the ghosts from Haunted Mansion appear in your photos.
Save on a carriage ride in the woods
Embrace the autumn charm and get a special view of Halloween decorations on a carriage ride at Disney’s Fort Wilderness Resort & Campground—and save 10% when you use your Disney Visa Card.29 The horse-drawn journey is the perfect opportunity to sit back, breathe in the forest air and keep your eyes open to spot creatures like deer, armadillos and rabbits.

Sweeten an after dark event further with exclusive Cardmember perks and rewards
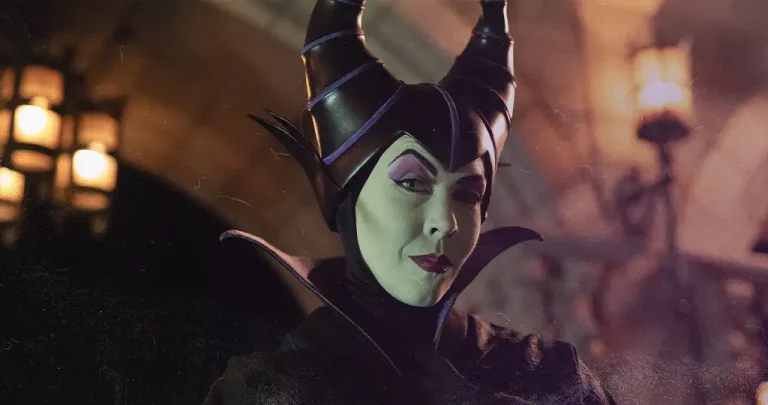
If you plan to step into a spellbinding night of Halloween fun at the Oogie Boogie Bash, your Disney Visa Card can make the evening even better! This after-hours event at Disney California Adventure® Park is packed with treat trails led by Disney villains, immersive Character encounters, a hauntingly cool parade and exclusive entertainment you won’t see anywhere else. Get discounts or redeem Disney Rewards Dollars toward festive décor, limited-time snacks and more in a frightfully delightful celebration you won’t want to miss!234
From sightings of creepy villains to one-of-a-kind experiences designed to thrill—there are all kinds of ways for Disney Visa Cardmembers to let the spirit run amok when you visit Disney Parks this fall. Happy Halloween!