If you’re looking for cute ideas to spruce up your brunch décor, look no further – Mickey and pals are here to help put a little extra spring in your Spring! To get you inspired, we’ve come up with three adorable DIY crafts that are sure to show your love for Disney.
Mickey & Friends Easter Eggs
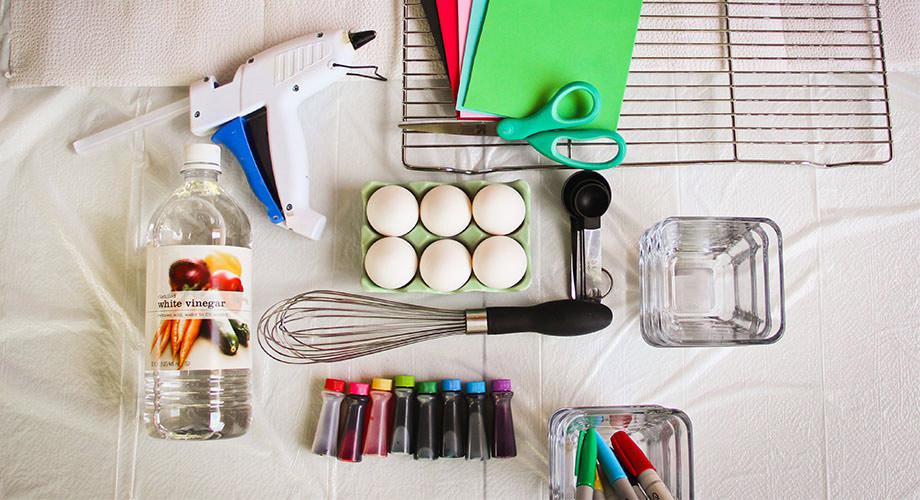
Supplies:
- 6 hard-boiled eggs
- Primary and neon food coloring
- Pot for boiling water
- Vinegar
- 6 bowls
- Whisk
- Paper towels/gloves (optional)
- Cooling rack
- Black, green, blue, yellow and pink permanent markers
- Green, yellow, pink, red, blue and black foam
- Hot glue gun
- Plastic cover/newspaper
Step 1
Mix Dye. For each color, combine ½ cup of boiling water, 1 tsp of vinegar, and food coloring according to the chart below.
| Characters | Desired Color | Drops of Dye |
| Pluto | Yellow | 10 yellow |
| Donald | Blue | 2 neon green, 8 neon blue |
| Mickey, Minnie, Goofy | Peach | 1 pink, 2 yellow |
| Daisy | Purple | 8 neon purple, 2 neon blue |
| Mickey, Minnie | Red | 10 red |
| Goofy | Orange | 7 yellow, 3 red |
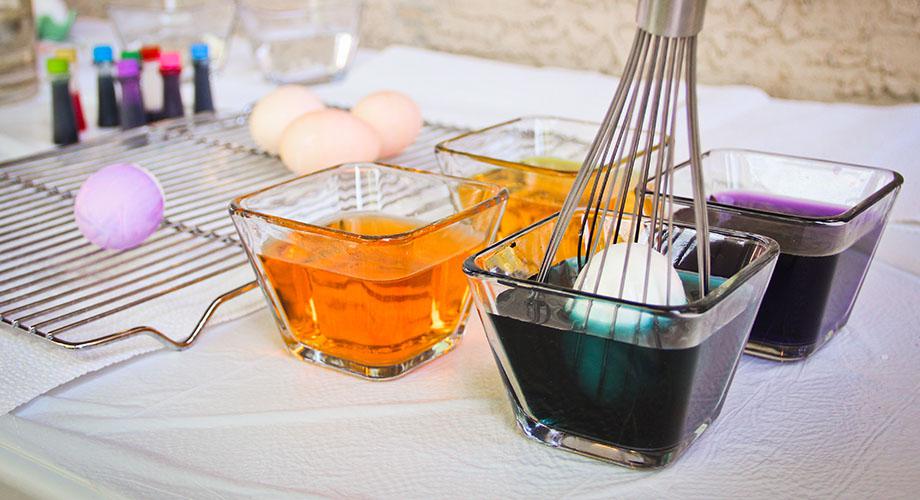
Step 2
First Dip. Using a whisk, completely submerge 3 eggs in peach for Mickey, Minnie and Goofy’s base coat. Place another egg in yellow for Pluto. For Donald, dip 2/3 of the egg in blue, and for Daisy, dip 2/3 of the egg in purple. Leave each egg in the dye until the desired color is achieved (time may vary depending on color and water temperature). Then let dry on a cooling rack for 1-2 hours.

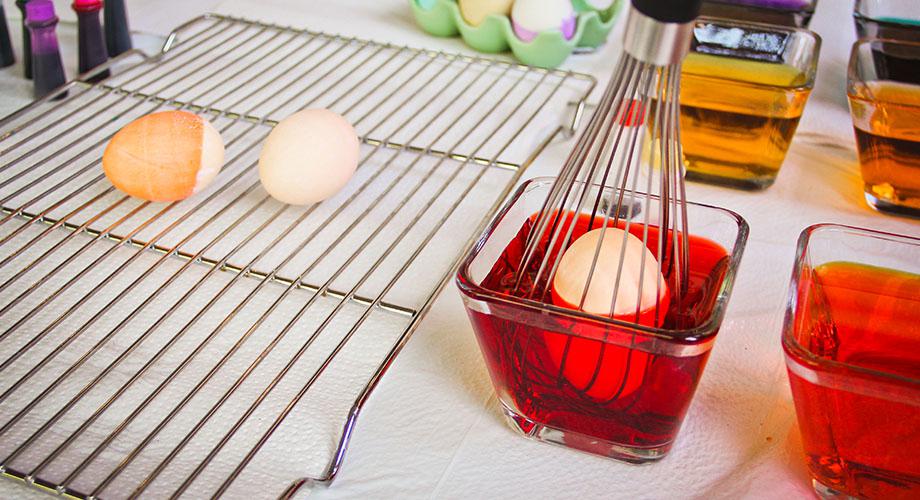
Step 3
Second Dip. Once dry, mix the red and orange dyes in bowls according to the chart above. Take two peach eggs, and dip them 2/3 into the red color for Mickey and Minnie. For Goofy, take the last peach egg and dip it 2/3 into the orange dye. Dry on the cooling rack for 1-2 hours.

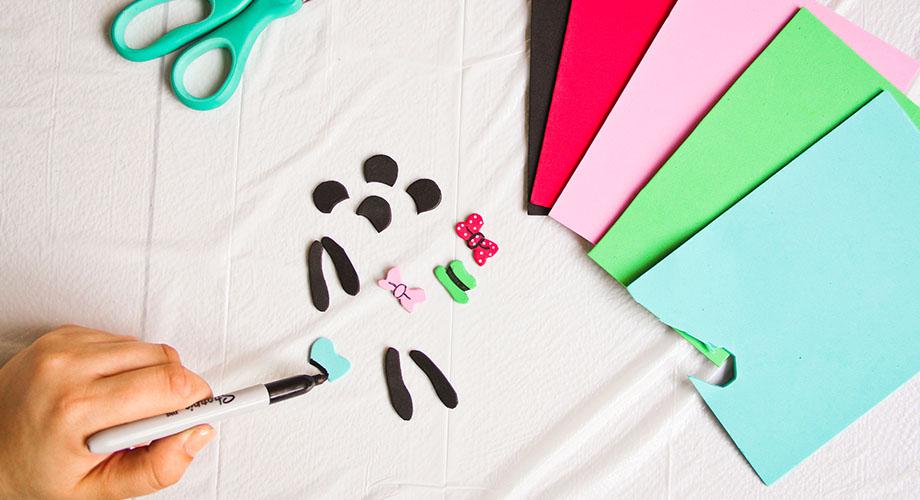
Step 4
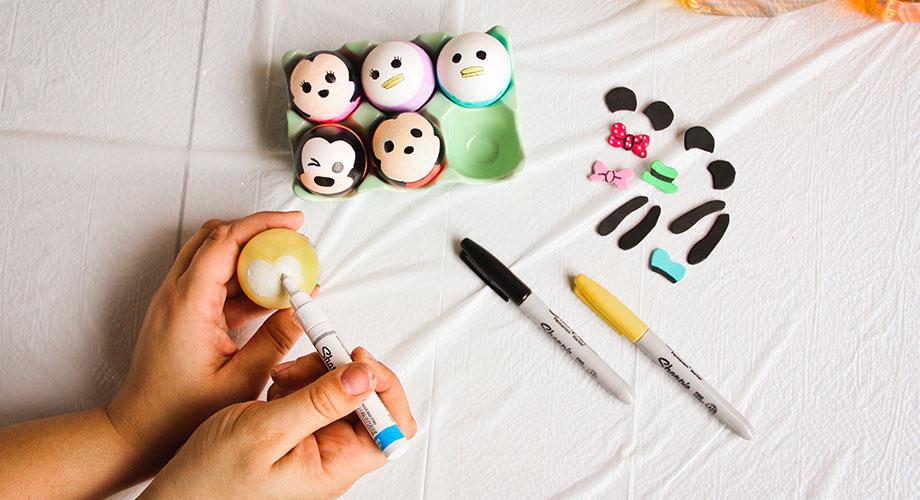
Cut Out Accessories. Use these templates to trace and cut each character’s ears, accessories, etc. Then add small details, like lines for Goofy and Donald’s hats and Minnie’s bow, with markers.

Step 5
Draw Faces. With permanent markers, draw Goofy and Pluto’s eye bases in white, Donald and Daisy’s bills in yellow, Pluto’s collar in green, and remaining eyes and noses in black. Outline Mickey, Minnie and Goofy’s faces with a black marker.

Step 6
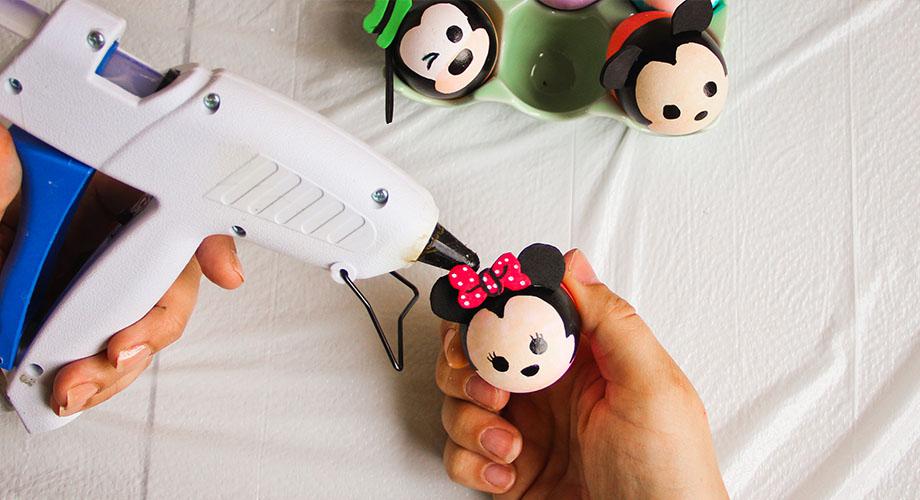
Attach Accessories. Adhere accessories to their characters using hot glue.

Step 7
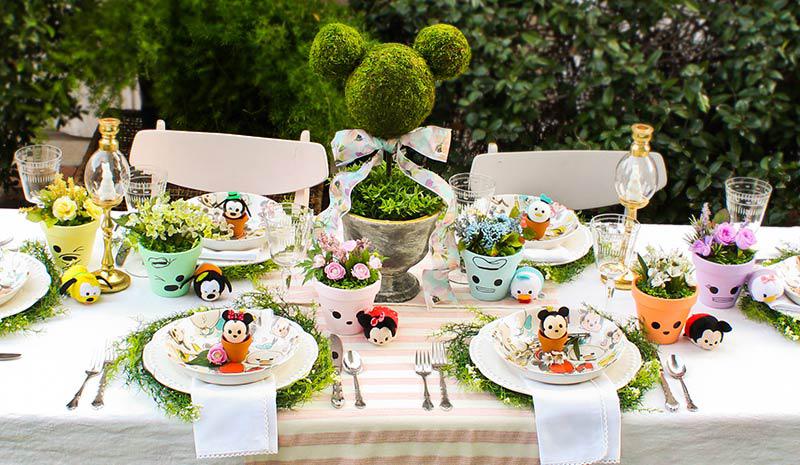
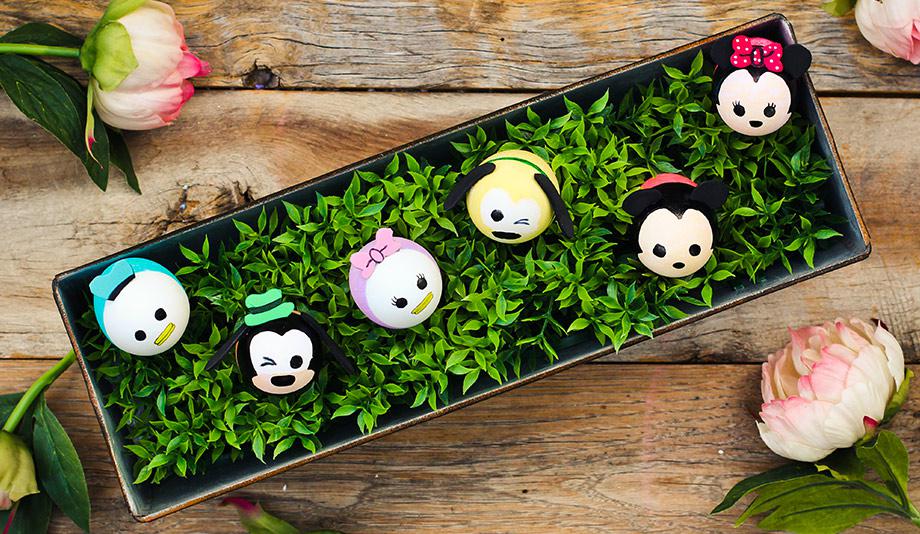
Display! Show them off however you’d like! Whether staged in a cute tray lined with greenery or nestled inside mini-terra cotta pots, as seen in our feature image above, they’re sure to be a crowd pleaser.

Bonus Décor DIYs
Mickey Topiary
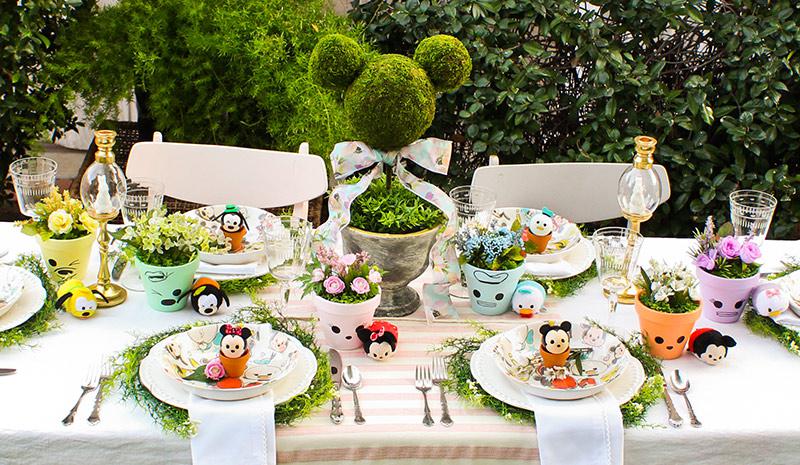
Bring a bit of garden magic to your Easter décor with an easy-to-assemble Mickey topiary. Combine three moss-coated Styrofoam balls with dowels and hot glue, then stake them into a foam-lined urn. Add a flourish of greenery and an Easter bow. Now you’ve got a lovely sculptural addition to your display!

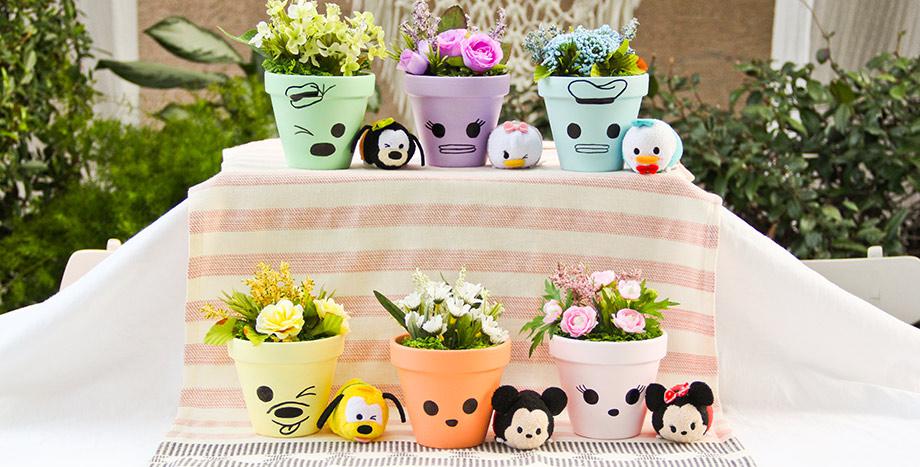
Pastel Character Pots
Nothing says spring like a colorful burst of flowers. Add a Disney touch to pastel-painted terra cotta pots by drawing on a few friendly faces with permanent markers. Fill them with foliage to create the perfect hiding spot for eggs stuffed with Disney goodies.
Hop over to shopDisney.com to find the perfect Mickey and friends accessories or dinner plates to dress up your table of crafts! Disney Visa Cardmembers won’t have to hunt long for a deal since they can redeem their Disney Rewards Dollars toward merchandise.1
SaveSave
